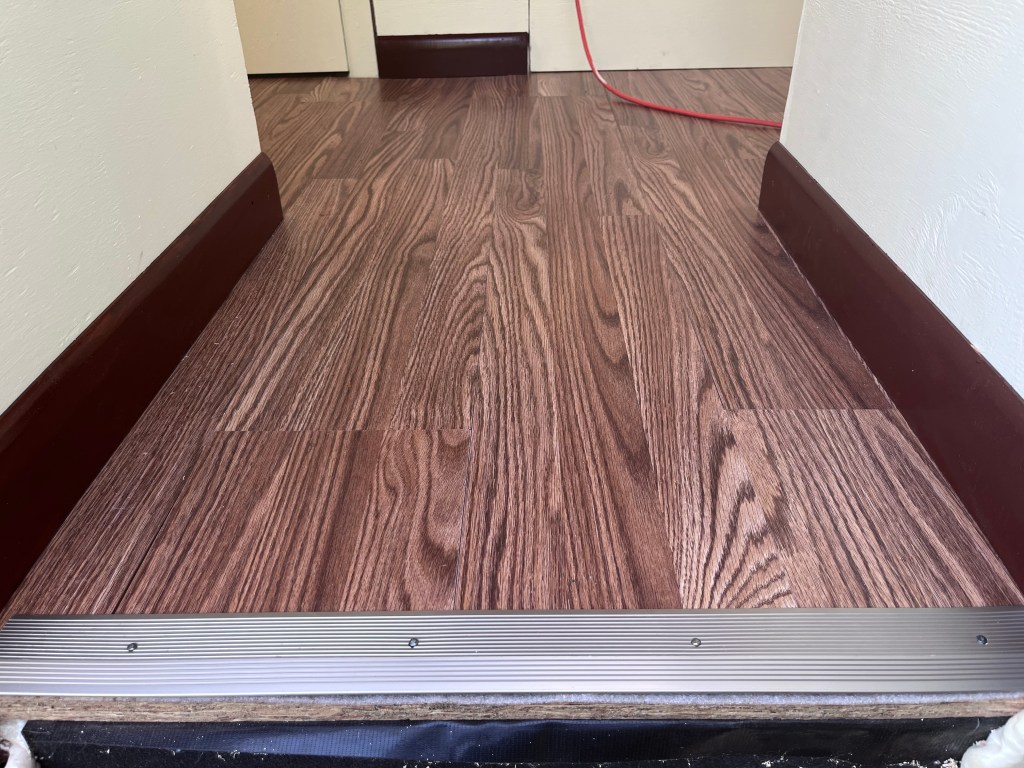
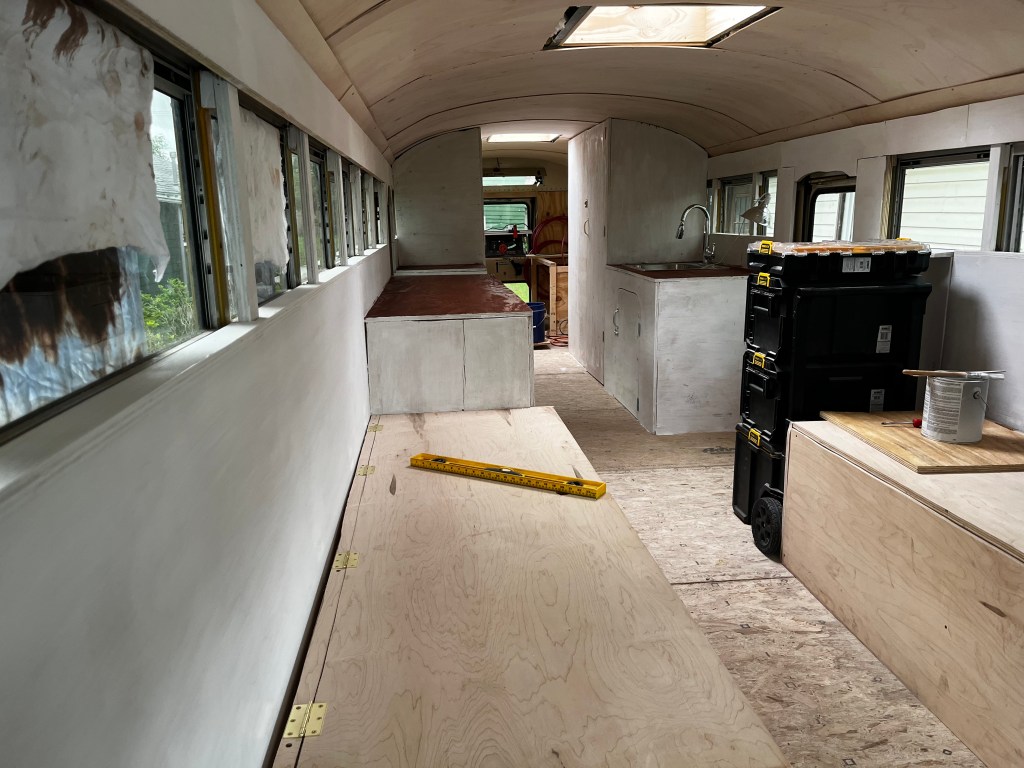
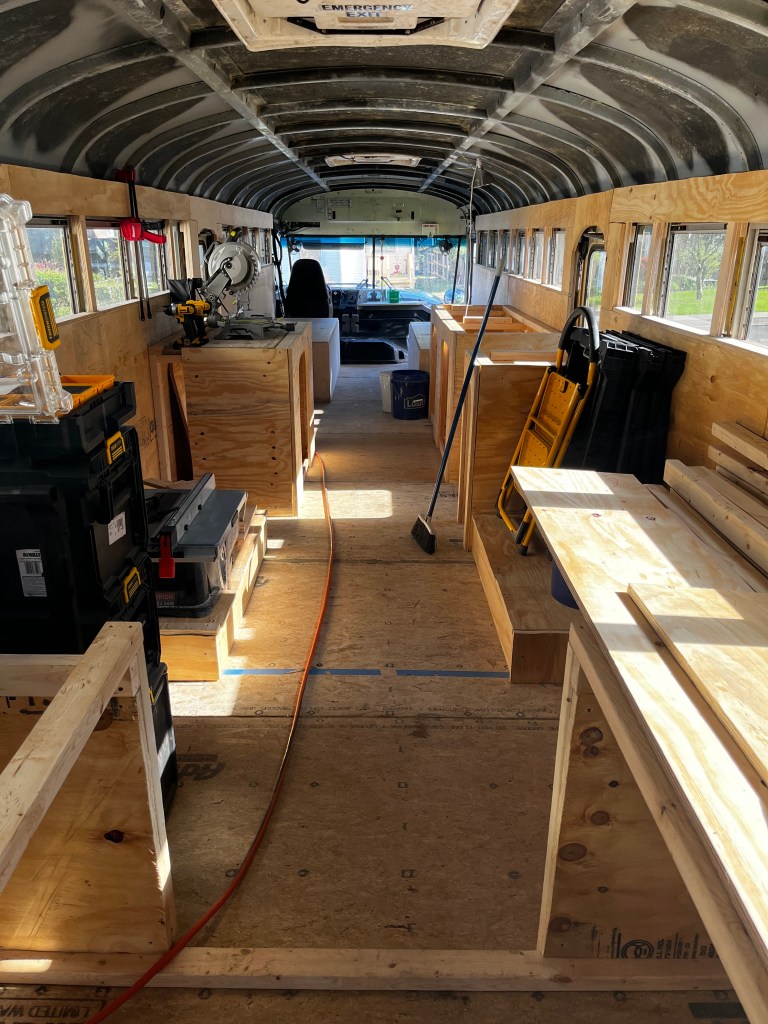
Ive been reallly bad about updating this blog, however I have made some progress. I installed the flooring and trim o the bus, it’s coming together nicely. A lot of what’s left is really expensive so Im trying to save up for things like tires and tanks and plumbing and wiring materials
I brought Mr. Meowgi out for a visit one day…he liked it, but he definitely wanted to jump out the windows. Lol
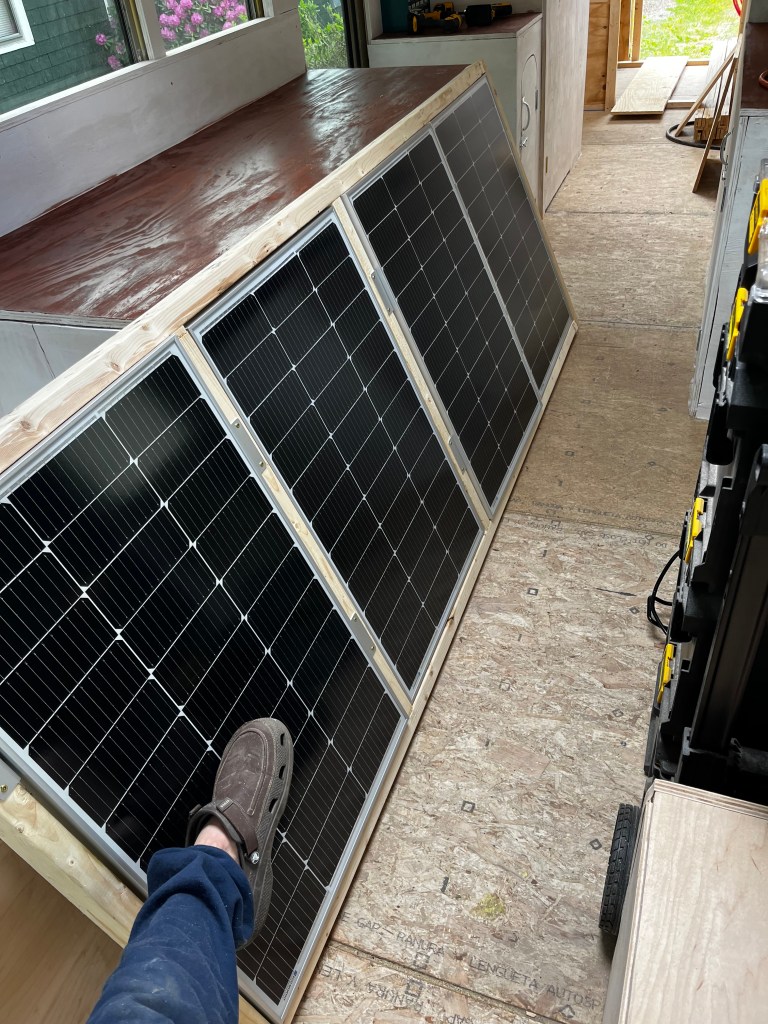
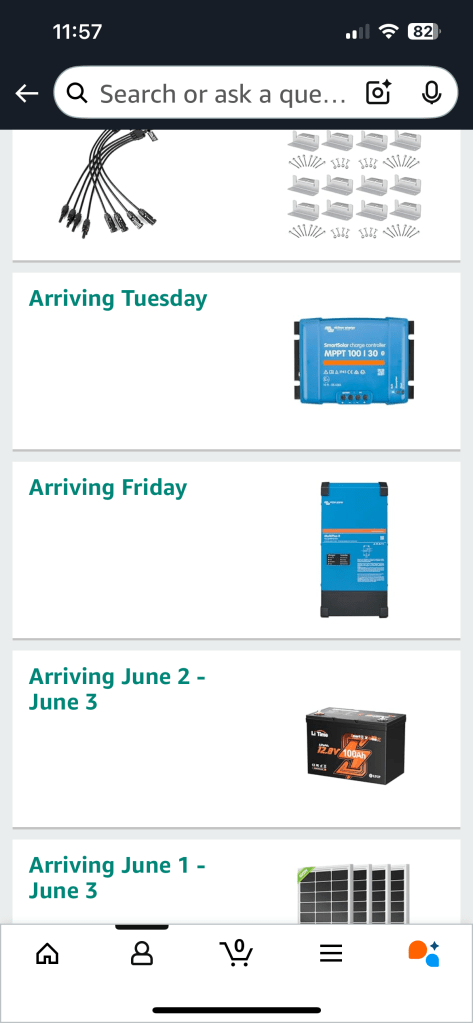
I had purchased a lot of equipment for the power system. I bought a Victron Multiplus II Inverter/Charger, Victron Solar Charger, 4 solar panels and a Lithium Battery. I need ALOT more components to get this all wired up.
I live in the Northeast so naturally it was the weekend so it rained so hard I nearly regretted not building an arc.
I ended up building a test bed for the Solar panels out of some extra lumber I had laying around. I also spent a lot of time researching the best methods for utilizing the products I had already purchased. I am going to make a special post about my system once I comes together.
I put a sheet metal plate on the wall behind the bathroom. It was going to be shelves, but I am going to try to fit the system in this spot. The inverter is HUGE, so it may need to be rearranged, this is why Im waiting to make a solar post, I want to make sure my system is safe and done right, not just for my own safety, but if anyone sees my system and tries to build their own, I want them to be making good choices too. I’ll try and share my knowledge on the subject as I learn, test, and double check everything.
I bought an external outlet for the bus, and some wire to handle that load to introduce shore power to the inverter. Wiring this inverter is nerve racking. Ive seen guys burn these up on YouTube, it’s a $1000 unit, so I really cant afford to do it wrong. I need some special ferrels to install the wire to the unit.
I cut a hole through the exterior, through the insulation and walls into the area I am putting the electrical system in. This is a 50 Amp Shore power inlet, the inverter is also a 50 am device so I can use the 4 wires that 50 Amp provides to use the two inputs on the inverter. To simplify the difference between different Amp rated outlets I’ll start with your typical household outlet.
Household outlets are typically 110(120) Volts, 15-20 Amps. You can run a fridge on one of these. Typical Household wire has three wires, a Positive, Negative, and Ground Wire…These are solid copper, which is not recommended for RVs because solid copper will break in a moving object over time…you can get the right sized braided copper for RV use, these are better because the wires are not solid and if one breaks there are 100 more still chugging along.
30 -50 Amp outlets are what you see at campgrounds.
A 30 Amp typically has similar wiring (3 wires) as household outlets with large wireamps to protect the 30 Amp current.
A 50 Amp typically has 4 wires and they are large enough to handle the 50 amp Current. 50 Amp outlets are what actually provide 2 110(120) Volt sources which is perfect for the Victron Inverter I bought which is 50 Amp and has two inputs for AC loads.
Heres the outlet and wire I used and the hole I cut to mount it.
I had to remove some stickers to install this, so I ended up removing all the lettering that I could around the bus (for when I prime the exterior)
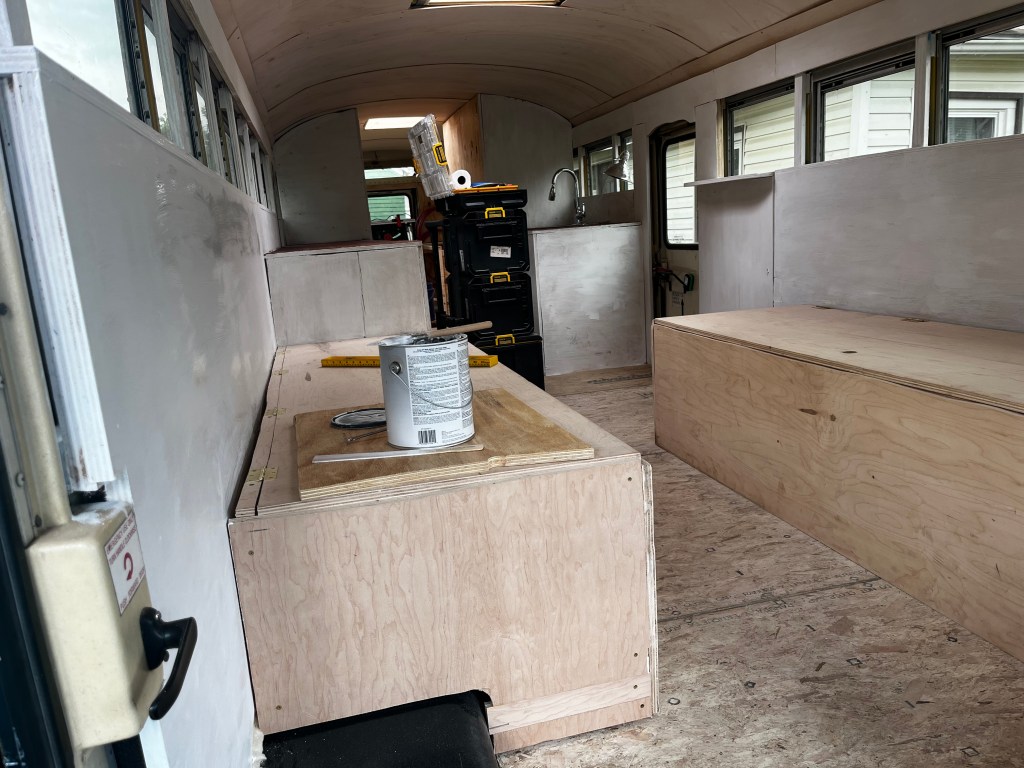
Since I have to wait on hard to get components for the electrical, I cut up boards to make my bed frame. Ive been holding off until I was confident I didnt need to put anymore large sheets of plywood into the bus..I think im there.
This weekend was a busy one! I built the walls for the bathroom and closet.
The above photo is the back side of the bathroom. I was going to make it into shelves, but I may install my Power components in this space, its centralized to the rig, and I can access it easily…more news on the Solar setup coming below.
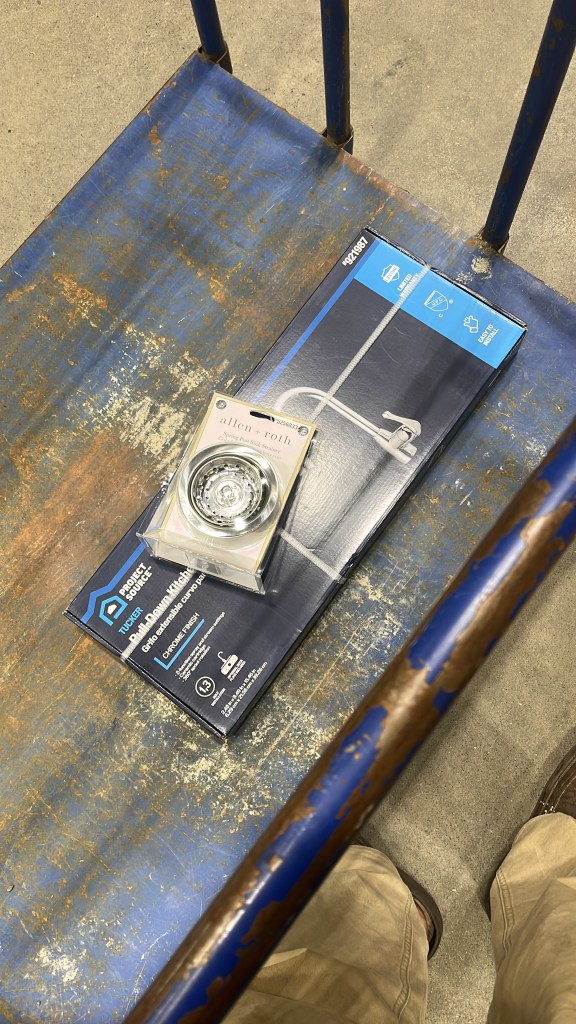
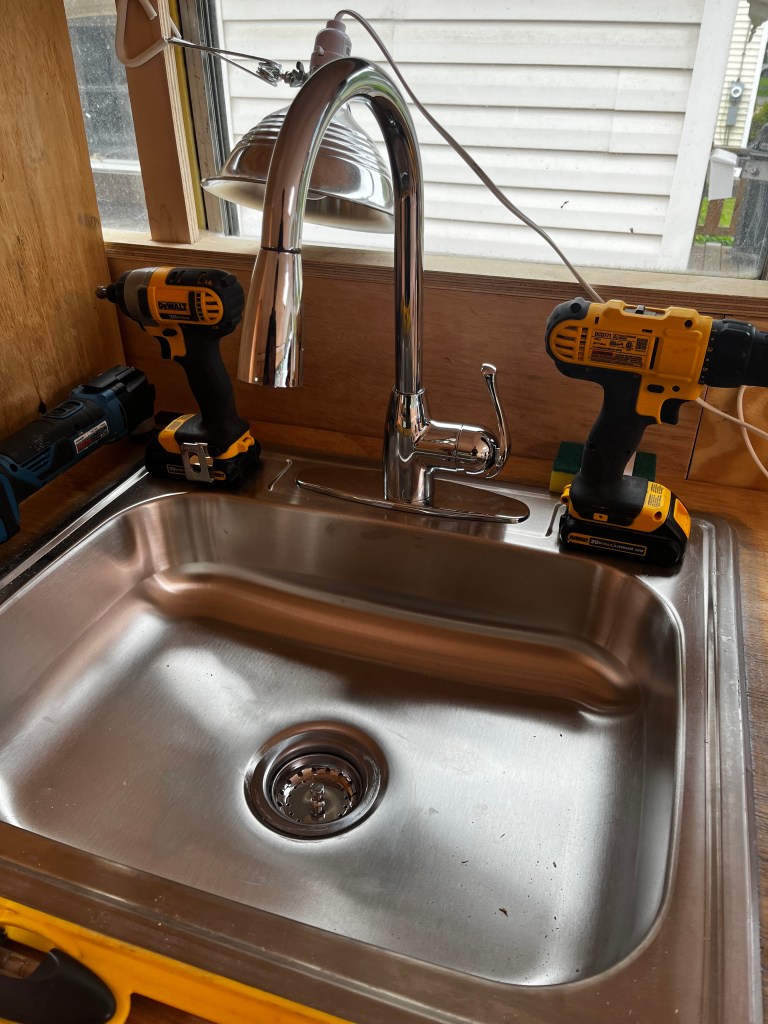
I also purchased my sink fixtures and installed them.
I ordered an Inverter/Charger, an MPPT solar charger, a lithium battery and some solar panels, cables, and mounts. I also picked up a crimping tool and an assortment of connectors for when I build out the power setup. I still need several devices and items and wire. Slowly getting what I need as the wallet can handle it. Below is a video of the progress I had earlier in the week, I trimmed the ceilings and cut a wall board using my new tool for getting the curvature right…the tool is neat but not quite big enough to be useful.
As the weekend rolled in I built out the rest of the walls for the bathroom and closets.
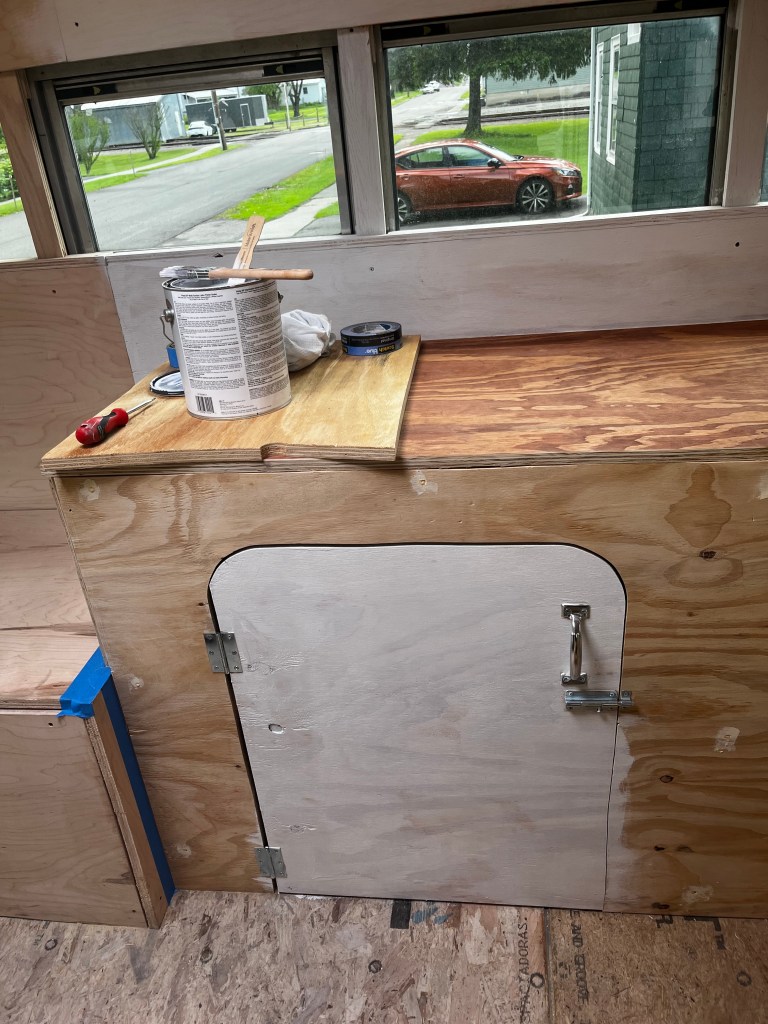
After finishing the walls I was ready to not lift plywood for a hot minute, so I picked up a paintbrush and decided to stain my countertops and prime the walls and cabinets.
Above photos are from Saturday. I wrapped up a lot of the priming and staining on Sunday.
Saturday night I made my big purchase.
I got a second coat of stain on the countertops and I sanded down the problem area around the sink where I had gotten silicon on the counter and the stain wasn’t adhearing to the wood properly.
above video was a SummaryIt of where I was at on Saturday night.
And with that I am likely done for the weekend, I’ll be spending time with the family tomorrow, if I have time I might frame out the shelves for the closets backside on the passenger side of the bus. The drivers side I am keeping open for now and might just add a shelf at the top to leave the rest open for utility closet.
This weekend I pushed myself, one of the issues I was having was the leaky Emergency Hatches. I had originally decided I wanted to install Marine Hatches, however they would have to be modified, or the structure would have to be modified to accommodate a pre manufactured Hatch. So I decided to build my own Skylights, I used a few pieces of lumber to build hatches and lids.
Two 1”x6” 8 foot boards
One 1”x2” 8 foot board (ripped in half)
Two 24” square pieces of Plexiglass
A few small packages of Screws
Tube of clear caulk
4 Hinges
2 sash locks
weather stripping
Spray Foam Insulation
Hatch holes were about 2 feet square, however the bus frame was cut into a rounded corners, so I had to cut out into a square shape to accommodate the wooden frames.
I cut the 1×6 into 2 24 inch pieces and 2 22 inch pieces to make a 2 square feet box. I then created the 1×1 frame in similar fashion.
I gave these items a quick coat of stain to weather proof the wood. Once it cured I began installing the bottom frames.
I used the old Hatch Lids while the roof was exposed since it was threatening rain all weekend
I drilled pilot holes into the plexiglass and then attached 16 screws around the smaller frame to create a skylight top. I used clear caulk between the glass and the frame before screwing the glass to the frame.
I installed Hinges and Sash locks to secure the top and bottom frames together. They dont open right now, but are serving well as skylights. I think if I install the hinges external it’ll open up just fine. I may grab a few more hinges and install them outside and remove the inside ones and reuse those hinges on small cabinets I plan on building for above the windows.
Saturday evening it rained pretty hard for a bit of time. No leaks were detected in the hatches.
Now that the hatches were done I was ready to get busy on my other milestone, the Ceiling.
I bought 10 sheets of 1/4 inch thick Luan boards. I cut 5 inches off the 8 feet length and attempted to install the boards onto the Ceiling strapping. I quickly discovered that the lowest strapping was not at an angle the Luan could handle bending to. So after cracking my first piece of Luan, I decided to move the lowest strapping up about 8 inches, After this the Luan fit better..but still not great because by moving the strapping up the frame was hitting the edges of the Luan. I really had no solution for this, so I installed the Luan and there are sections where the edges are not straight do to the frame exposure, you can see it in the video below.
After I installed the 9 ceiling sections I cut 8 4 inch boards out of the remaining Luan boards to create panel covers for the gaps between the Luan seams.
There is still a gap between the walls and the ceilings that I am going to cover with trim wood that will also make a good material to tie in top side cabints.
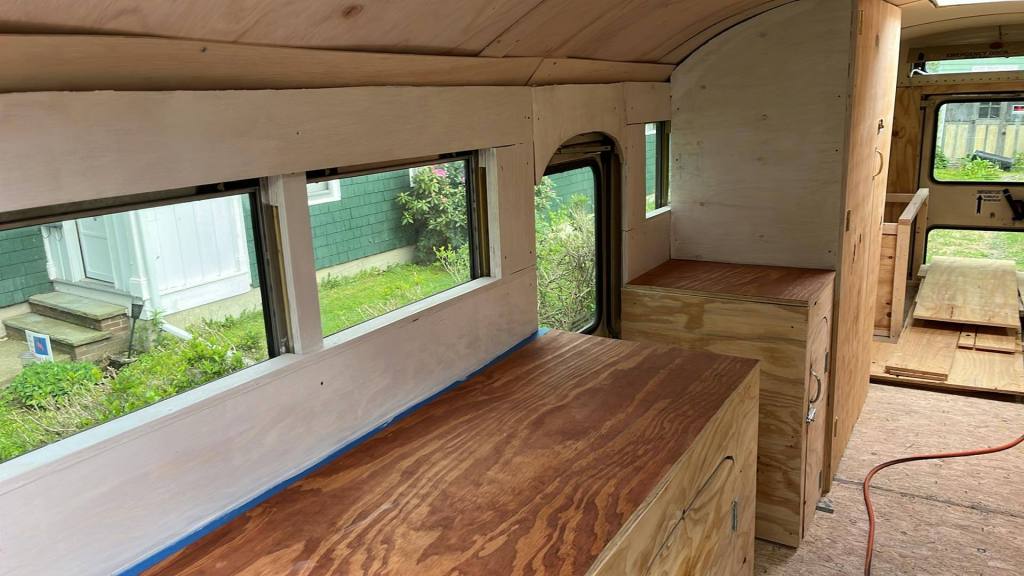
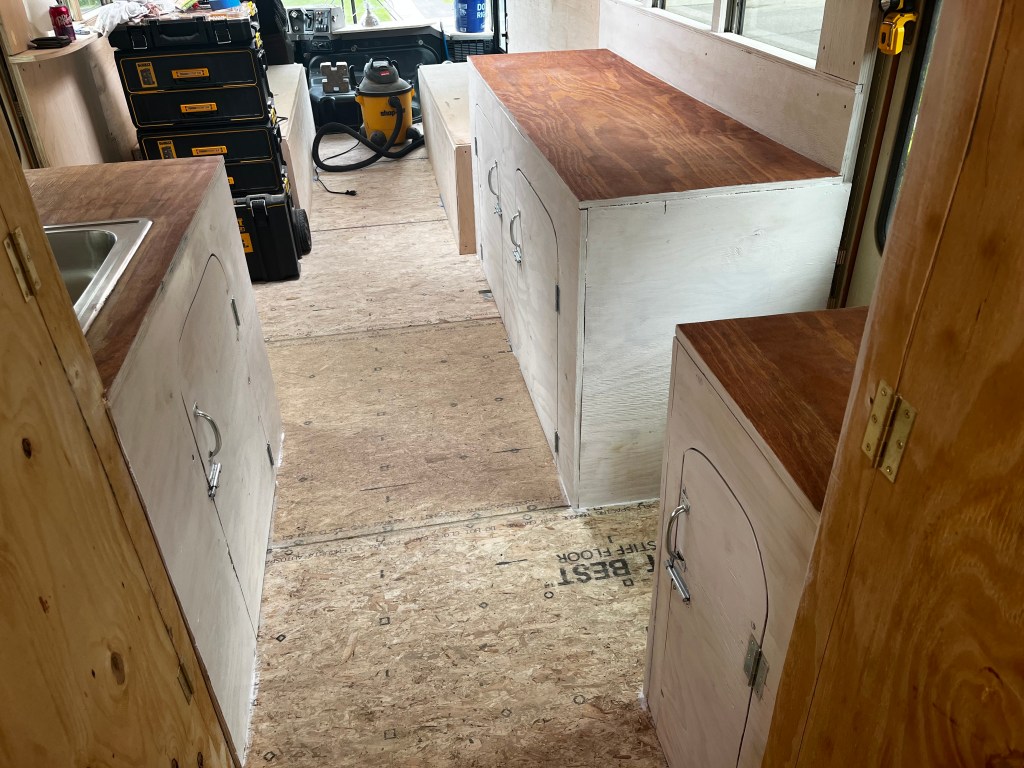
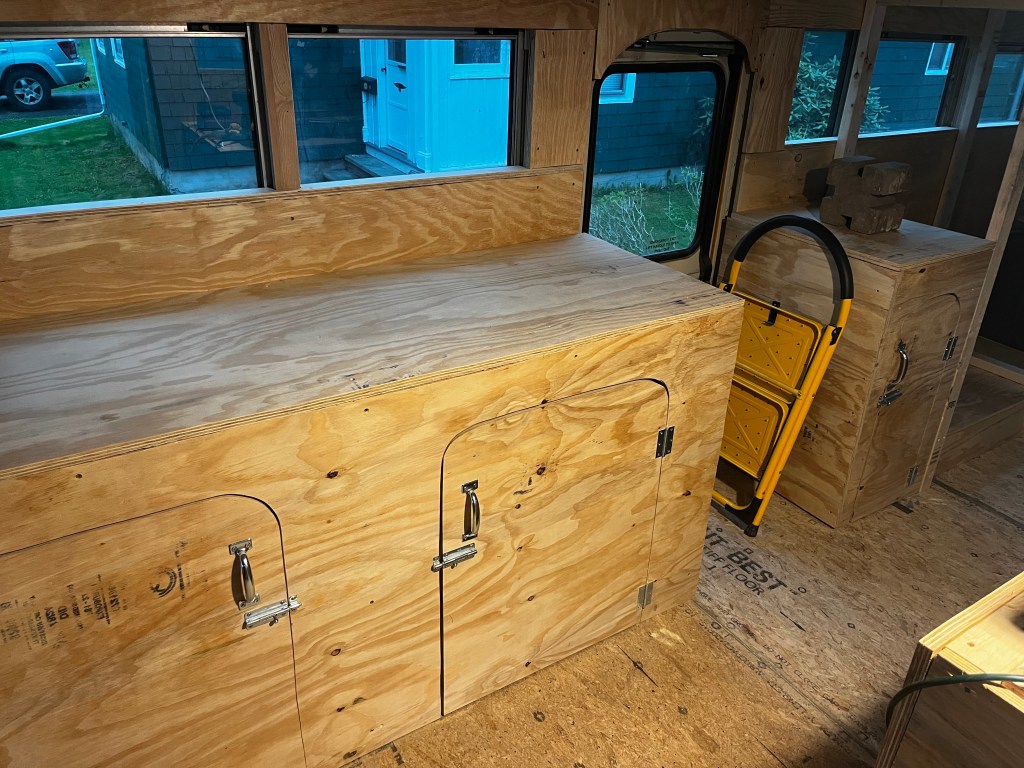
I built cabinets in the last few weeks, over the course of evenings after work I managed to get the hardware and trim up the doors, countertops and even a sink.
The cabinets are all hinged, I installed handles as well as bolt locks to secure contents while the bus is in motion.
I ran strapping down the length of the bus at 5 points along the rounded bus framed ceiling. I used the 3/4 inch thick plywood cut into 2 inch wide boards (8 feet length)
I picked up insulation after work today and I’ll be putting that up as I run the ceiling material. I am using 1/4 inch Luan. It’s thin enough I may be able to bend it and mount it to the strapping to create the arch that I will tie the walls into. The structure doesn’t go to the ceiling, im going to seal off these studs with 3/4 plywood walls, and doors for the closet and upper cabinet, as well as the bathroom, I may build a pocket door for the bathroom.
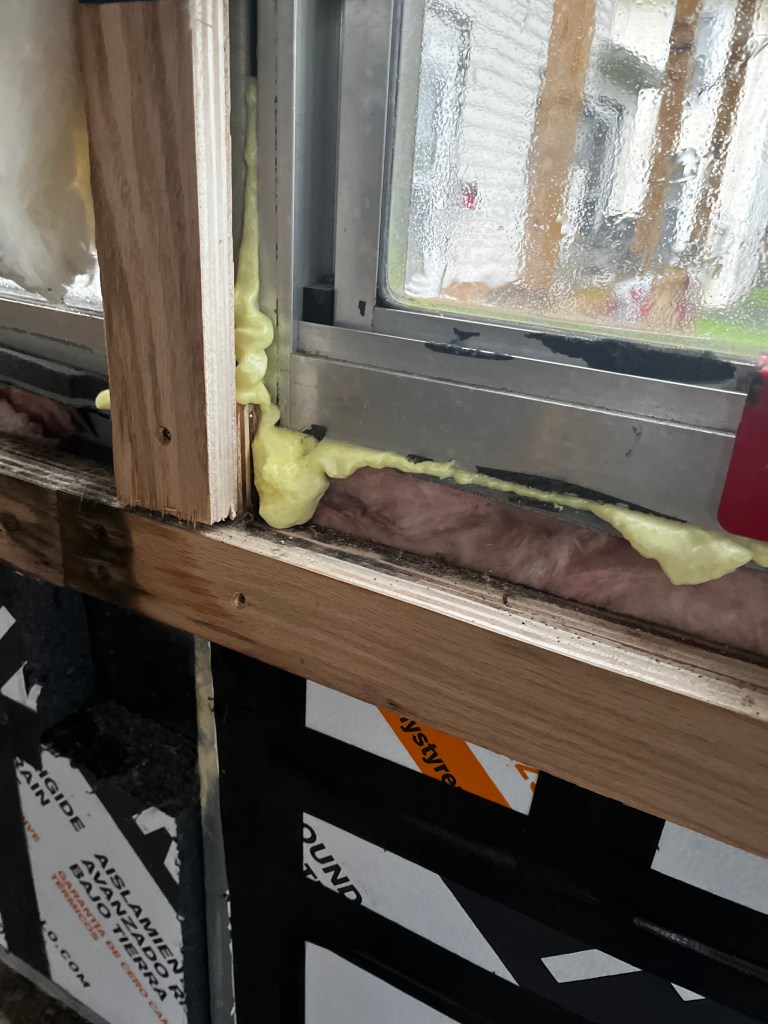
Friday was rainy, my windows still had some leak issues, I tore apart the wall, tried using foam, that didnt work, ended up putting flex seal on the windows as a temporary solution
After I got the walls put back together, I built my sink basin cabinet, also decided I wanted to frame out the bathroom and closet. Before I could do that I needed to run the water lines
After I ran the lines I boxed them in wherever they were exposed.
Sunday I made shelves for all the cabints, framed up the bathroom and closet, and ran the water lines up through the shelves to access the (eventual) sink.