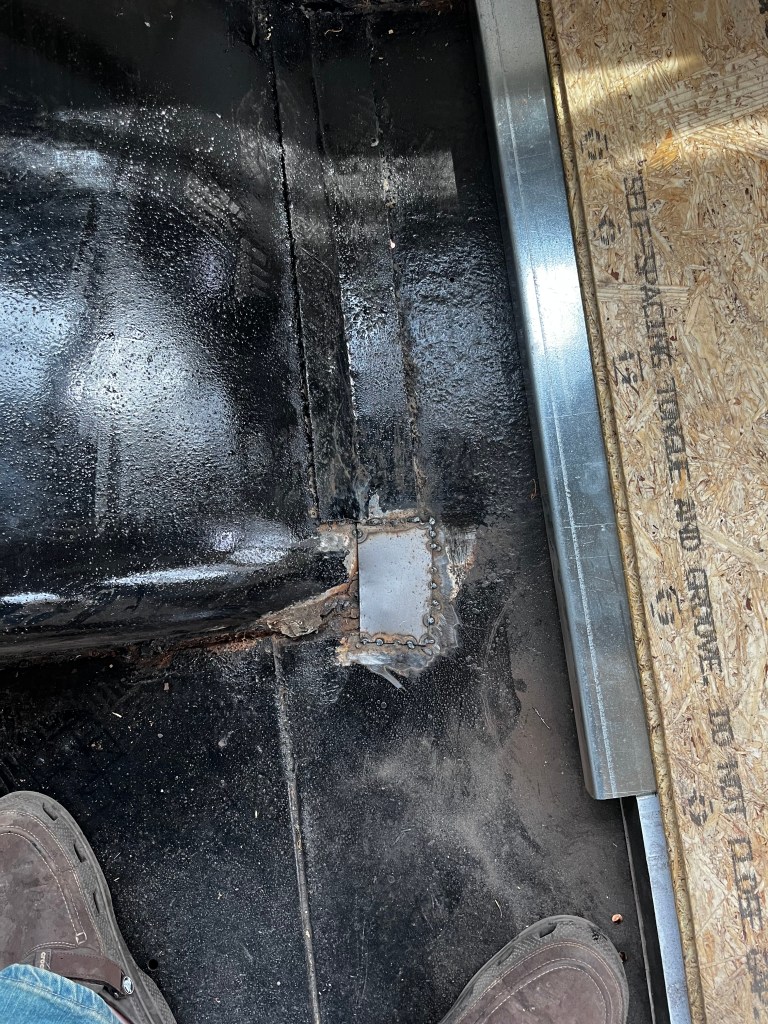
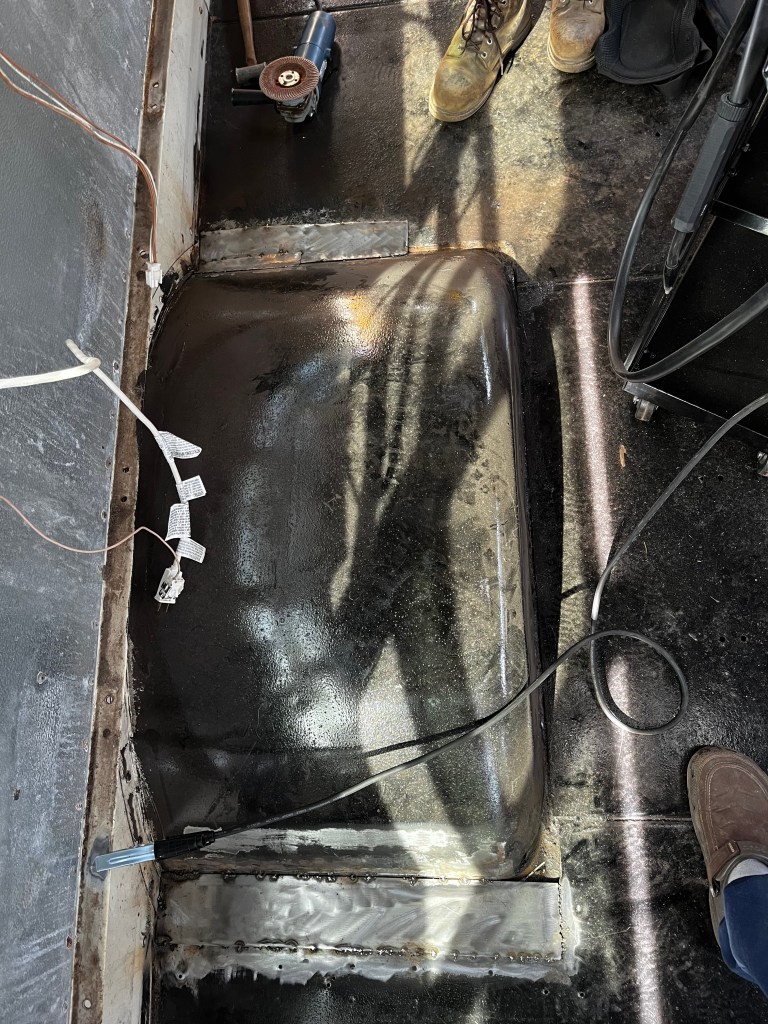
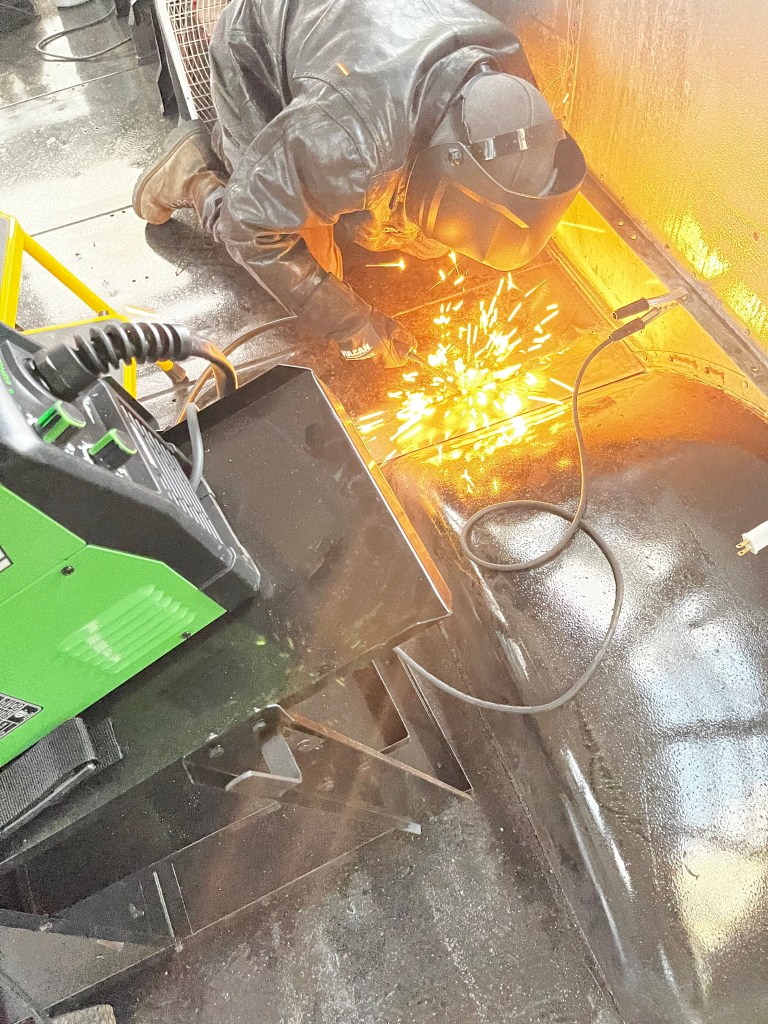
After dry fitting two sections of subfloor, it was time to finish welding the wheel well that still had a problem spot. My son Caden stopped by and welded the final piece of metal. I Threw some Chassis Saver on. I’ll be sealing with Silcone before the third subfloor is cut to size. Waiting for the weather to warm up before I glue down materials, its been high of 41 today and that just wont cut it.
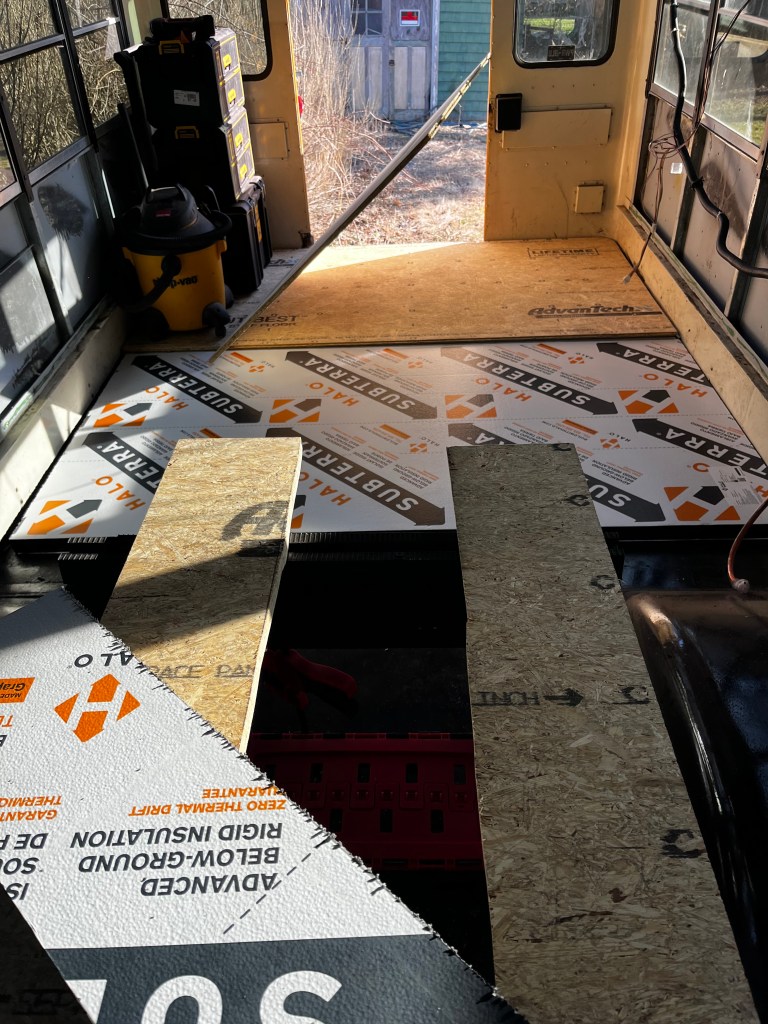
I bought 2 rigid foam boards and 2 tongue and groove floorboards and cut them and dry fit them in place this evening. The foam is about $50 a board and the floorboards are $60 a board. It’s coming together nicely.
This site will be used to document my journey building a Skoolie with only the internet as my compass, and a lot of good advice from people who know how to do this. If you have ever considered building a tiny home, or an RV out of a school bus, but you really dont have a background in construction, this should be a good resource for you to see how some other guy with no experience embarks on trying this experiment.
Welcome to Phase 1! This section documents how it all started, the initial state of the bus, and the work done to prepare the floors and wall panels for the build.
This phase was important because its the foundation that the rest of the build will be built upon.
I am going with the recommendation of Chuck Cassidy on my flooring.
Phase 1 was to gut and prep the floors to remove rust, repair/weld any holes, and prime with Chassis Saver.
Phase 2 will involve cutting, dry fitting, and eventually gluing down the rigid foam board and subfloor sheets.
Today I picked up one sheet of the rigid foam board and cut it to complete the first section in the back of the bus.
I cut the board to the width of the bus (right around 90 inches), then i trimmed off a little because it would not bend enough to squeeze past the chair rails that are a structural part of the bus. I will be able to fill in that gap with the trimmed piece (lesson learned, duct tape and glue will fix it. Cutting the foam board is a breeze with a jigsaw,
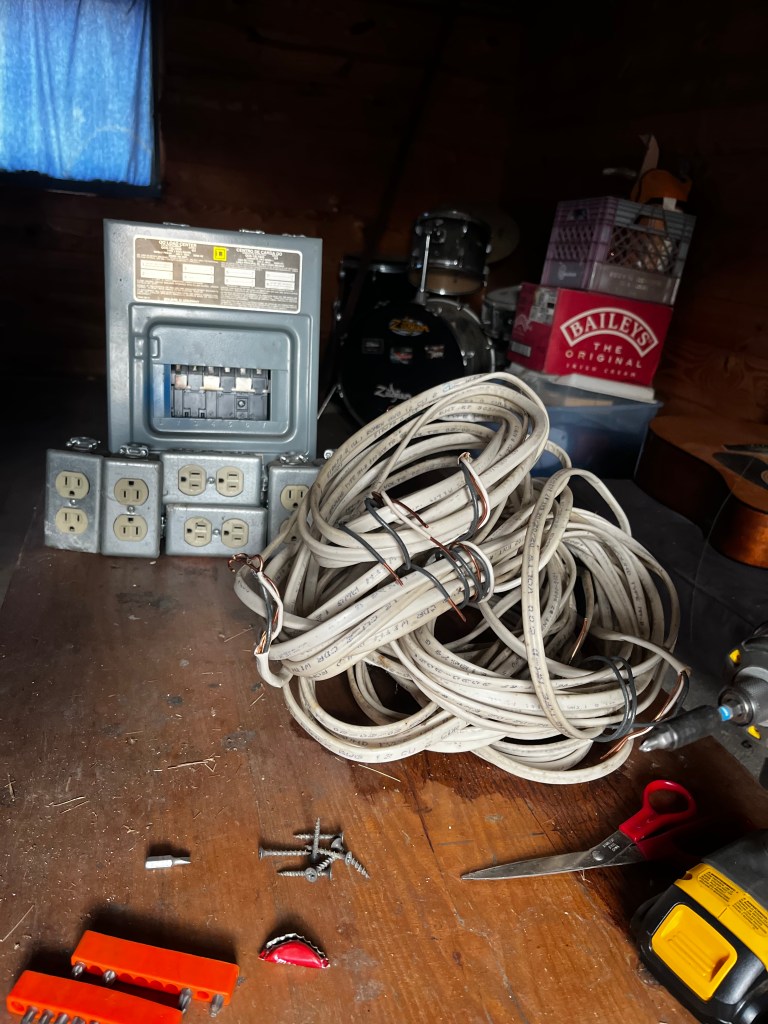
I took it kind of easy this weekend, I did manage to remove the rest of the wall panels and insulation. I took the wall panels to the scrap yard, and I worked in my garage to reclaim a 10/100 Box, 6 outlets and wiring that I will use on the Bus. I had put it in my garage about 20 years ago but never ran a main line from the house out to the garage so all this hardware was just sitting out here doing nothing.
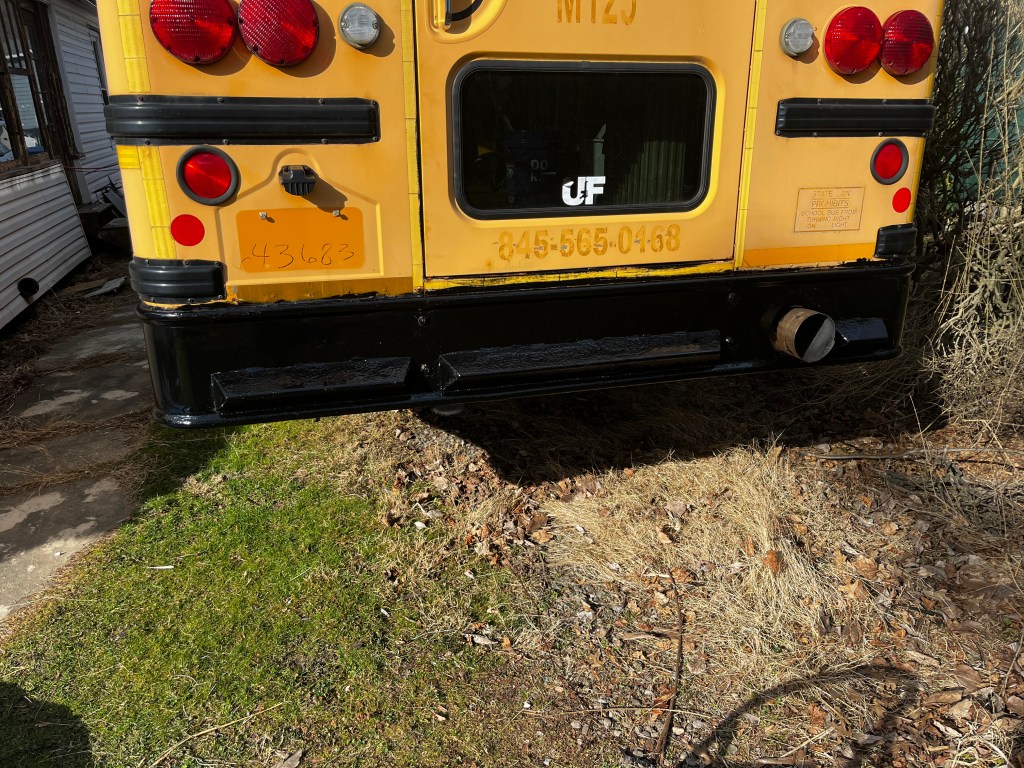
It’s Friday, it’s cold, and my body is begging for a break. So I went shopping at an RV store, grabbed a catalog, and a set of leveling blocks. I did manage to cut out more of the side walls and grind down and prime the rear bumper last night before the sun went down.
Got an Early start this weekend. I had a ton of things to accomplish.
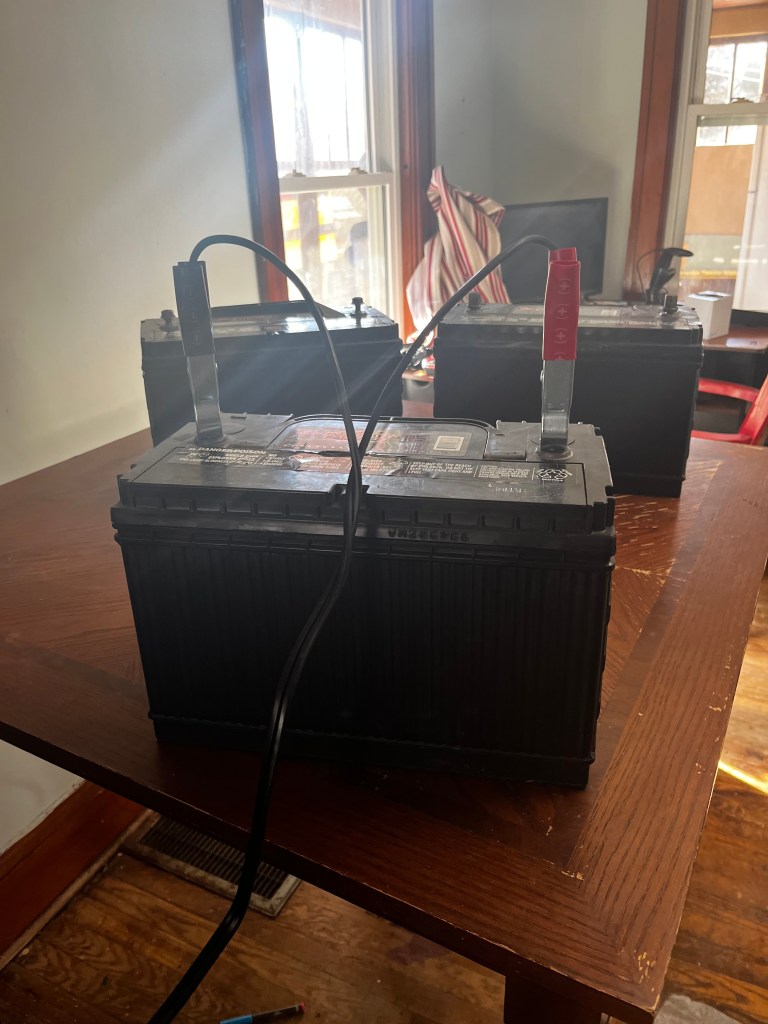
I loaded up the van with the old Seats and a bin of scraps. I took it to the local dump. After that I tested the old batteries that I had charged and stored indoors over the winter to see if they were holding a charge (they did not hold a charge.)
So I travelled to two Autozones to buy new batteries, each location had 2, I needed 3. Recycled the old batteries and hooked up the new ones and grabbed a little diesel fuel to ensure I had some fuel in the tanks for when I get the engine started.
Once I got the batteries hooked up in the tray (I cleaned and primed the tray beforehand (sorry no images or video of that, just trying to brush as much as possible while I had a usable brush…Chassis Saver leaves the brush useless once it cures.)
The Bus started right up!
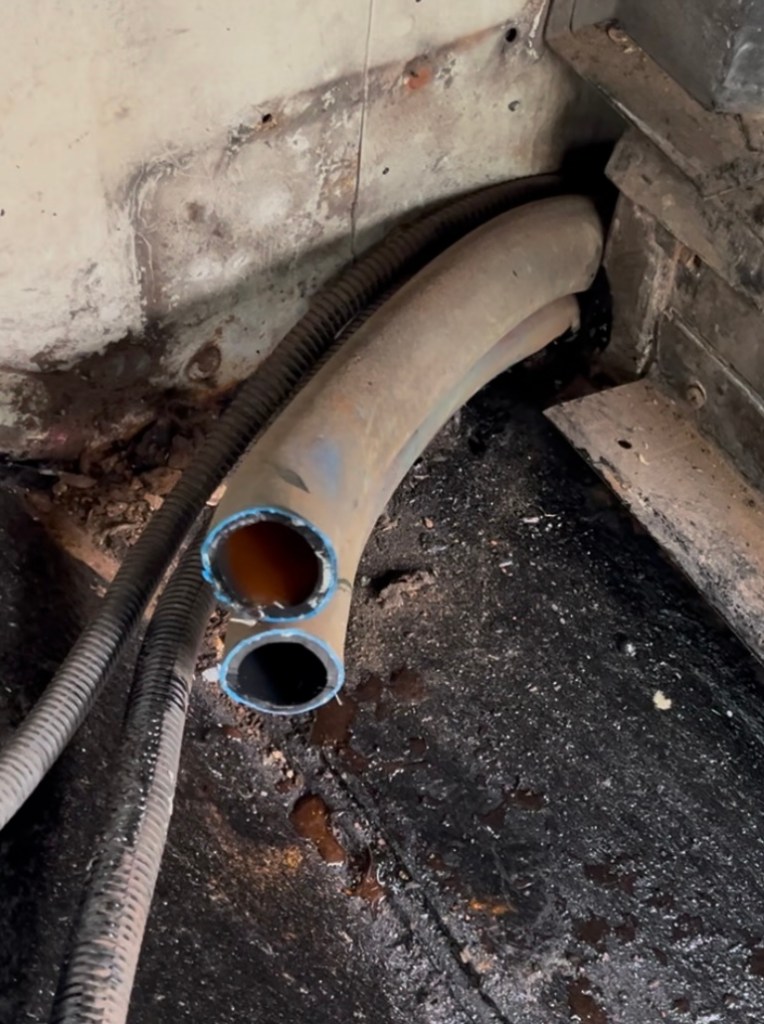
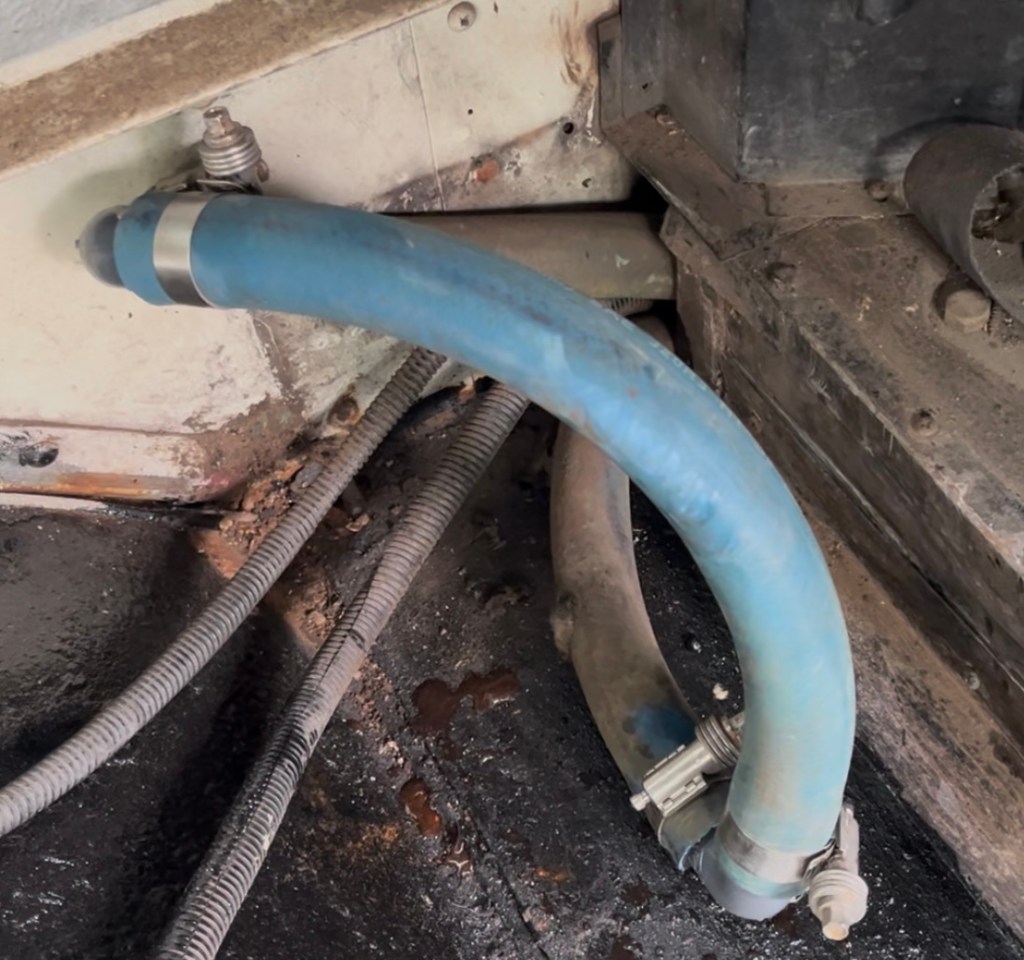
My next project was to remove the rear and mid-ship heaters from the bus and reroute the antifreeze lines to ensure the radiator and engine flow of coolant was maintained.
This job I anticipated would take a while, but it went surprisingly well.
ScreenshotScreenshot
My Son Caden stopped by and did some practice welds, once he had the machine dialed in he tacked metal over one of the problem areas near the wheel wells. Day light eluded us, so tomorrow we will try to get the remaining holes patched with steel.
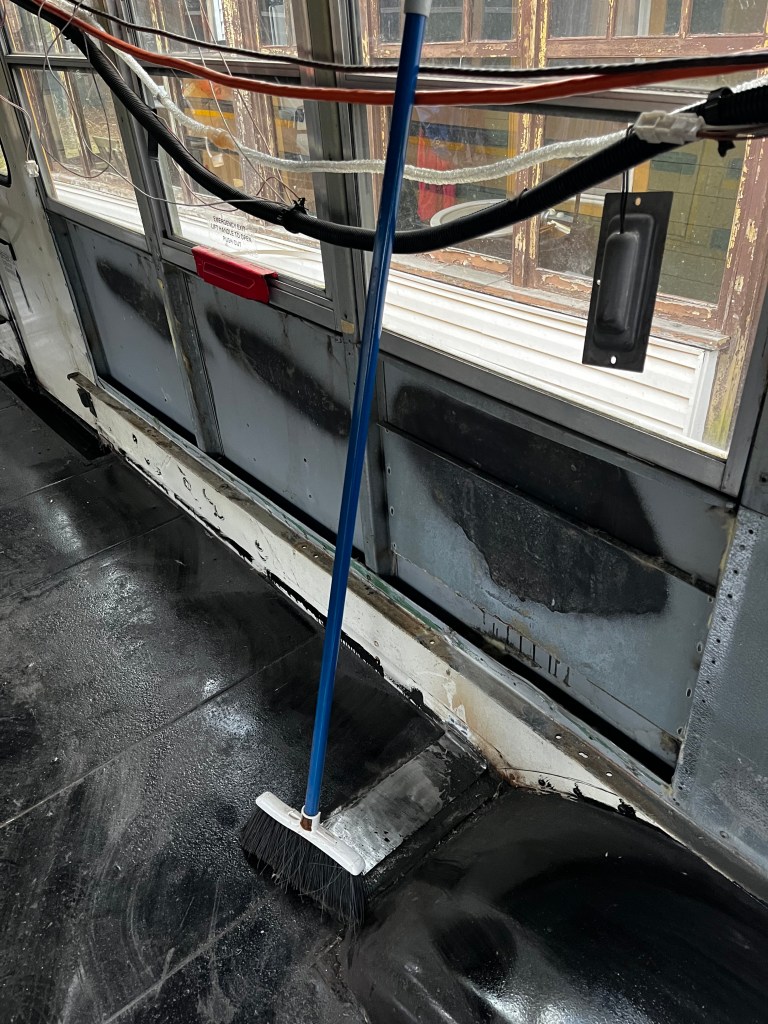
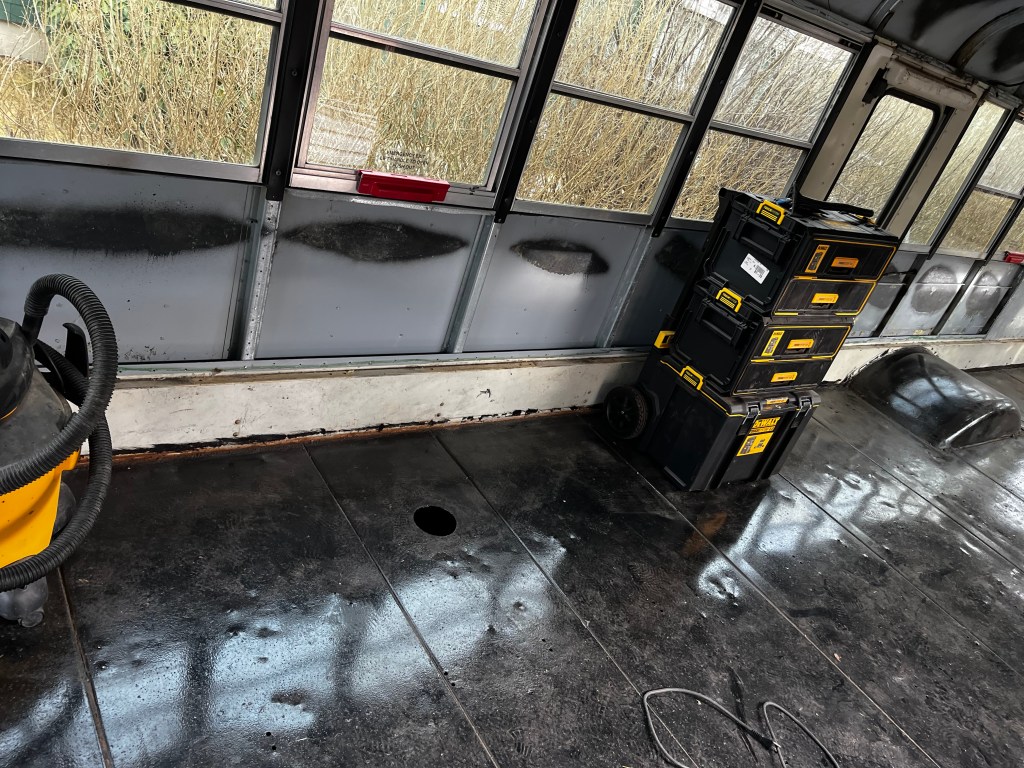
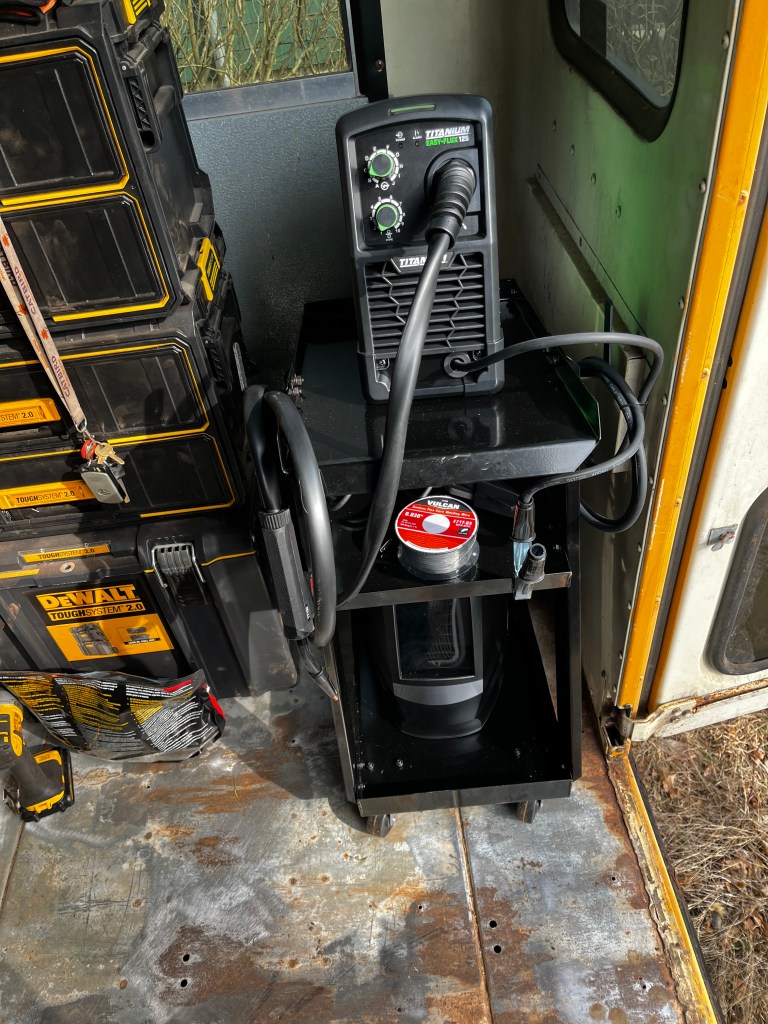
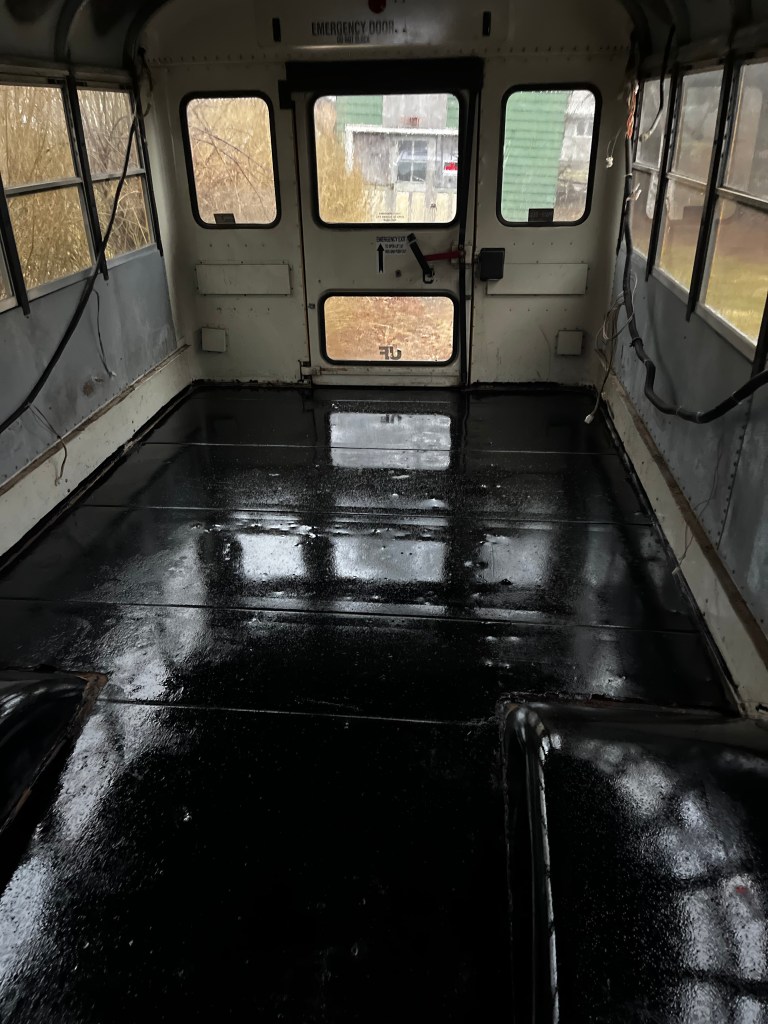
It was a busy weekend!, I went to Harbor Freight and picked up a flux core welding setup, some 16 gauge steel, and my Chassis Saver finally arrived. Not knowing much about welding I did some practice welds, I am not ashamed to admit I hate it with a passion. Anyways, Once I get better at it I’ll get the holes patched up, but I need to get better at welding first before I try welding onto the bus itself. I did more rust removal and a lot of shop vac and sweeping. Then I moved all my tools form the back of the bus and put down the Chassis Saver to see how it would cover, it was worth the $120 a gallon, I credit Chuck Cassidy for that tip, and for the way I will be doing the floors as I get to that part of the build. I may drop a link here to one of his videos here and there so you can see how I am planning to do my floors.
So as I said earlier, I am still learning the welding, need more practice before I try to patch the holes, I decided to get some of the Chassis Saver applied, it covered great and really was worth the investment.