This weekend I pushed myself, one of the issues I was having was the leaky Emergency Hatches. I had originally decided I wanted to install Marine Hatches, however they would have to be modified, or the structure would have to be modified to accommodate a pre manufactured Hatch. So I decided to build my own Skylights, I used a few pieces of lumber to build hatches and lids.
- Two 1”x6” 8 foot boards
- One 1”x2” 8 foot board (ripped in half)
- Two 24” square pieces of Plexiglass
- A few small packages of Screws
- Tube of clear caulk
- 4 Hinges
- 2 sash locks
- weather stripping
- Spray Foam Insulation
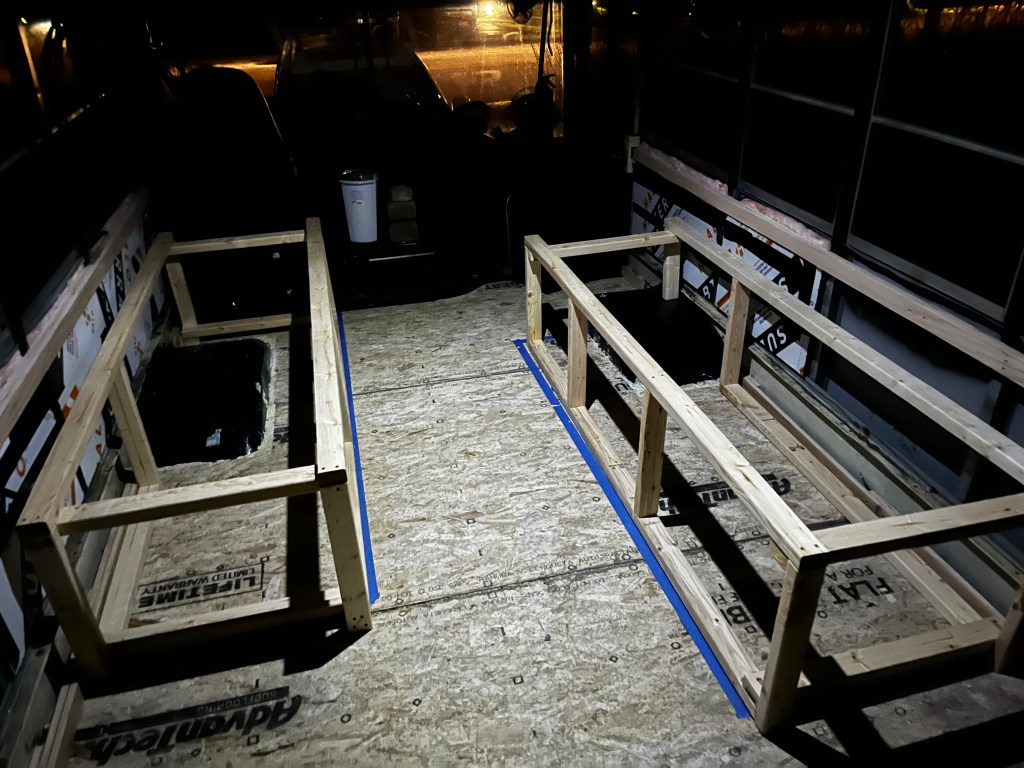
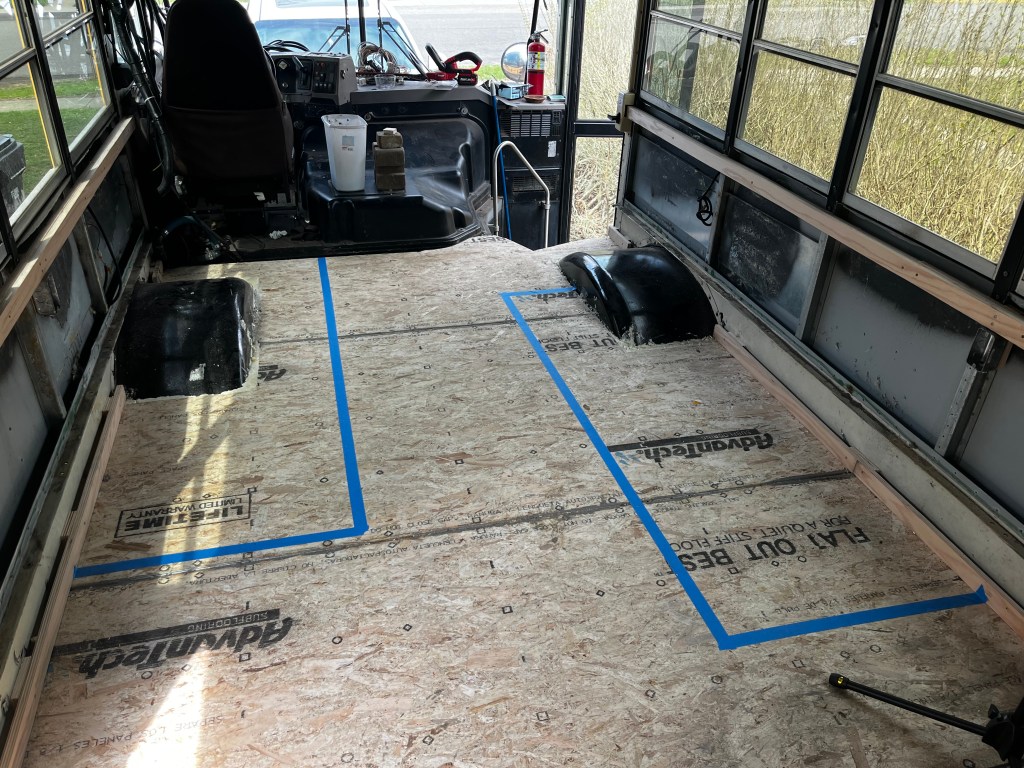
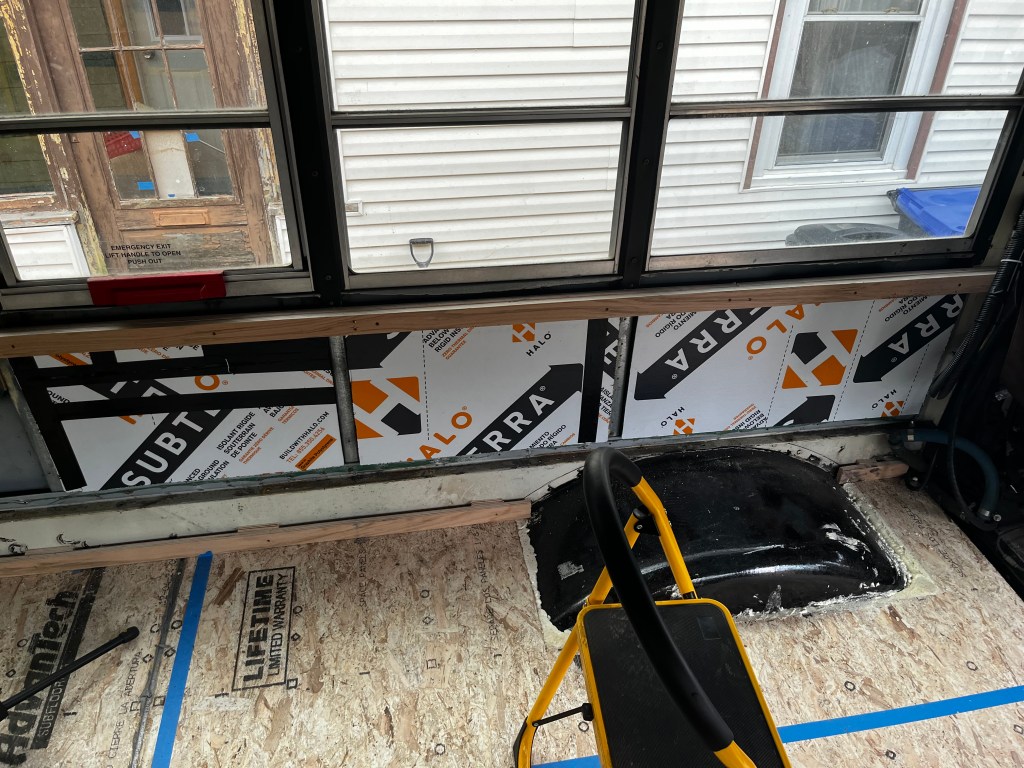
Hatch holes were about 2 feet square, however the bus frame was cut into a rounded corners, so I had to cut out into a square shape to accommodate the wooden frames.


I cut the 1×6 into 2 24 inch pieces and 2 22 inch pieces to make a 2 square feet box. I then created the 1×1 frame in similar fashion.
I gave these items a quick coat of stain to weather proof the wood. Once it cured I began installing the bottom frames.
I used the old Hatch Lids while the roof was exposed since it was threatening rain all weekend
I drilled pilot holes into the plexiglass and then attached 16 screws around the smaller frame to create a skylight top. I used clear caulk between the glass and the frame before screwing the glass to the frame.
I installed Hinges and Sash locks to secure the top and bottom frames together. They dont open right now, but are serving well as skylights. I think if I install the hinges external it’ll open up just fine. I may grab a few more hinges and install them outside and remove the inside ones and reuse those hinges on small cabinets I plan on building for above the windows.
Saturday evening it rained pretty hard for a bit of time. No leaks were detected in the hatches.
Now that the hatches were done I was ready to get busy on my other milestone, the Ceiling.
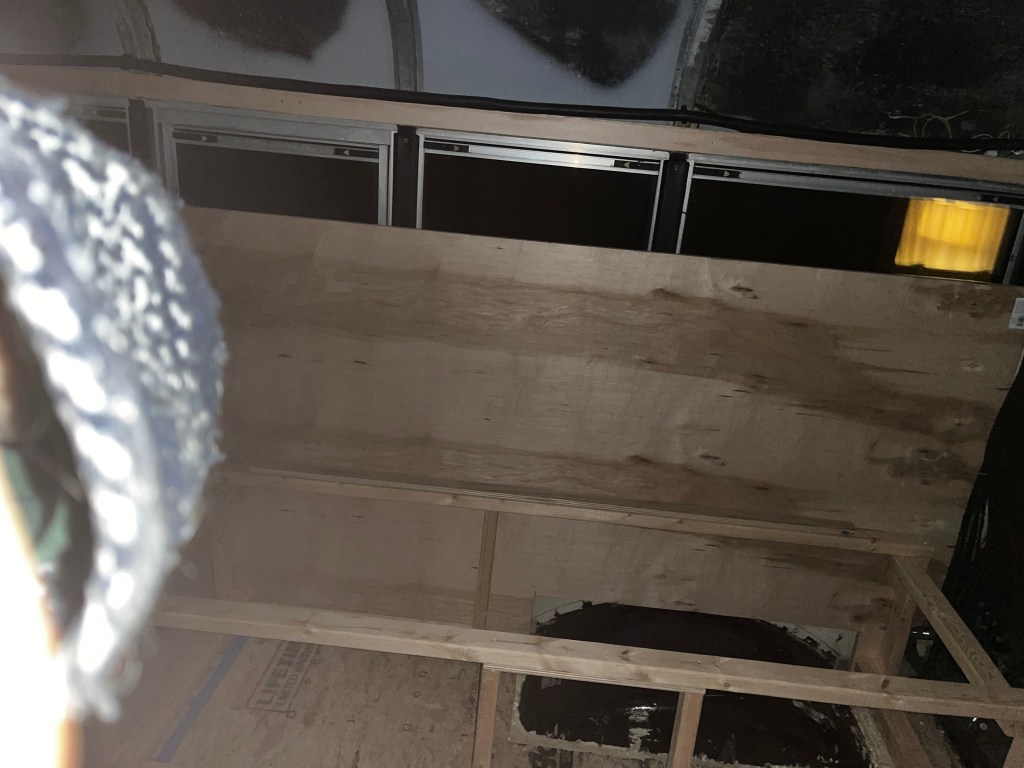
I bought 10 sheets of 1/4 inch thick Luan boards. I cut 5 inches off the 8 feet length and attempted to install the boards onto the Ceiling strapping. I quickly discovered that the lowest strapping was not at an angle the Luan could handle bending to. So after cracking my first piece of Luan, I decided to move the lowest strapping up about 8 inches, After this the Luan fit better..but still not great because by moving the strapping up the frame was hitting the edges of the Luan. I really had no solution for this, so I installed the Luan and there are sections where the edges are not straight do to the frame exposure, you can see it in the video below.
After I installed the 9 ceiling sections I cut 8 4 inch boards out of the remaining Luan boards to create panel covers for the gaps between the Luan seams.
There is still a gap between the walls and the ceilings that I am going to cover with trim wood that will also make a good material to tie in top side cabints.