Tag: Wiring

  • Weekend 12: Solar Stuff!

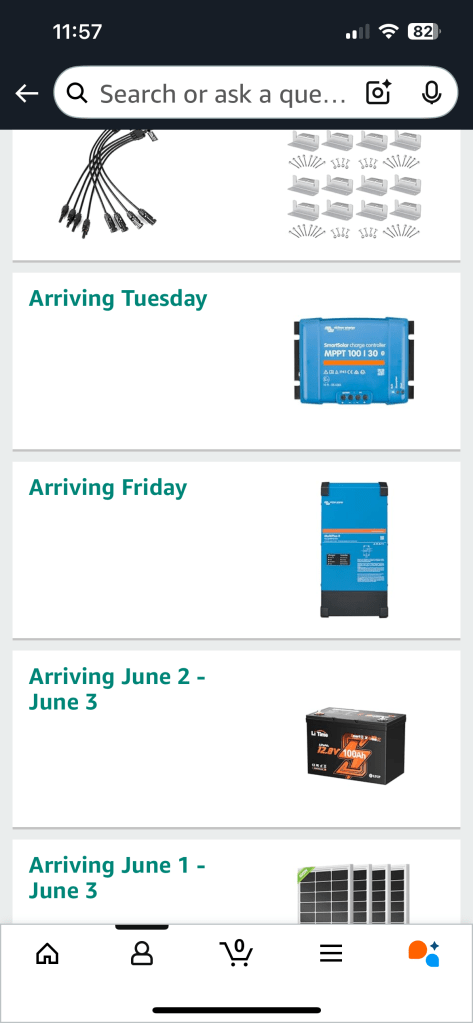
    I had purchased a lot of equipment for the power system. I bought a Victron Multiplus II Inverter/Charger, Victron Solar Charger, 4 solar panels and a Lithium Battery. I need ALOT more components to get this all wired up.

    I live in the Northeast so naturally it was the weekend so it rained so hard I nearly regretted not building an arc.

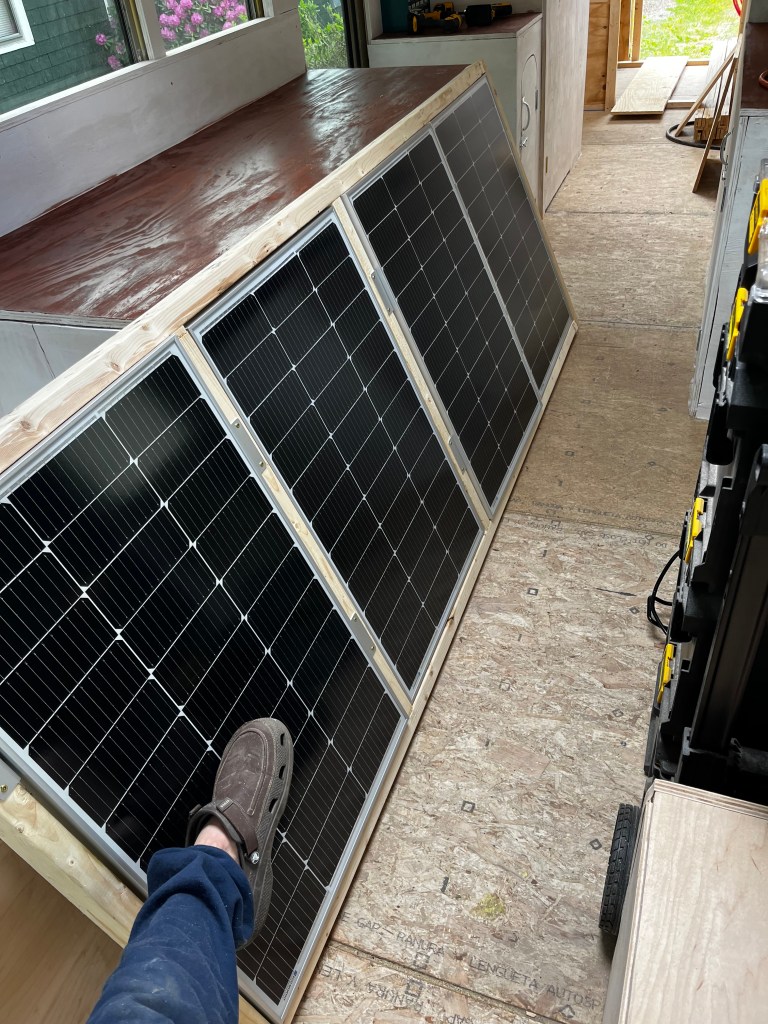
    I ended up building a test bed for the Solar panels out of some extra lumber I had laying around. I also spent a lot of time researching the best methods for utilizing the products I had already purchased. I am going to make a special post about my system once I comes together.

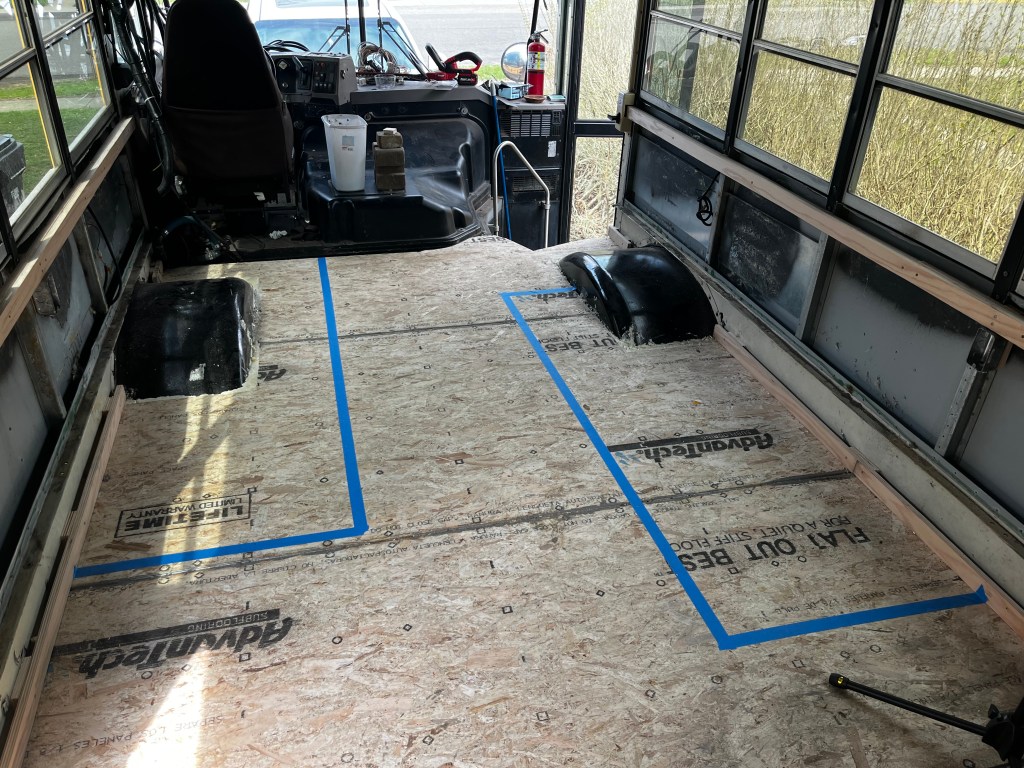
    I put a sheet metal plate on the wall behind the bathroom. It was going to be shelves, but I am going to try to fit the system in this spot. The inverter is HUGE, so it may need to be rearranged, this is why Im waiting to make a solar post, I want to make sure my system is safe and done right, not just for my own safety, but if anyone sees my system and tries to build their own, I want them to be making good choices too. I’ll try and share my knowledge on the subject as I learn, test, and double check everything.

    I bought an external outlet for the bus, and some wire to handle that load to introduce shore power to the inverter. Wiring this inverter is nerve racking. Ive seen guys burn these up on YouTube, it’s a $1000 unit, so I really cant afford to do it wrong. I need some special ferrels to install the wire to the unit.

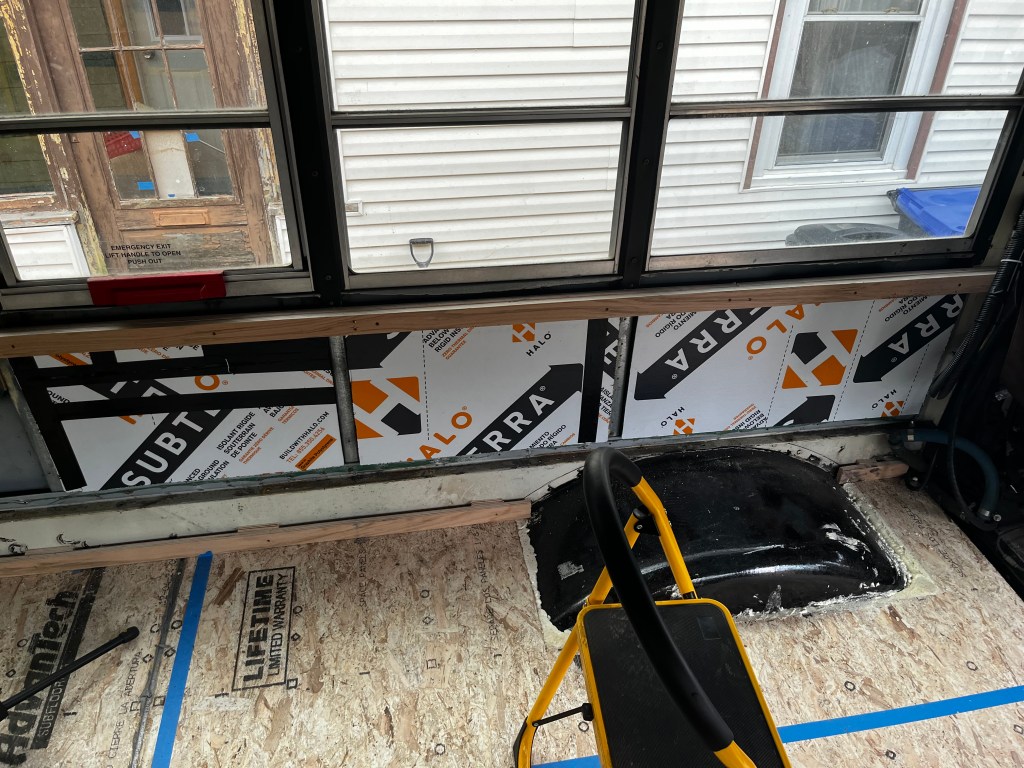
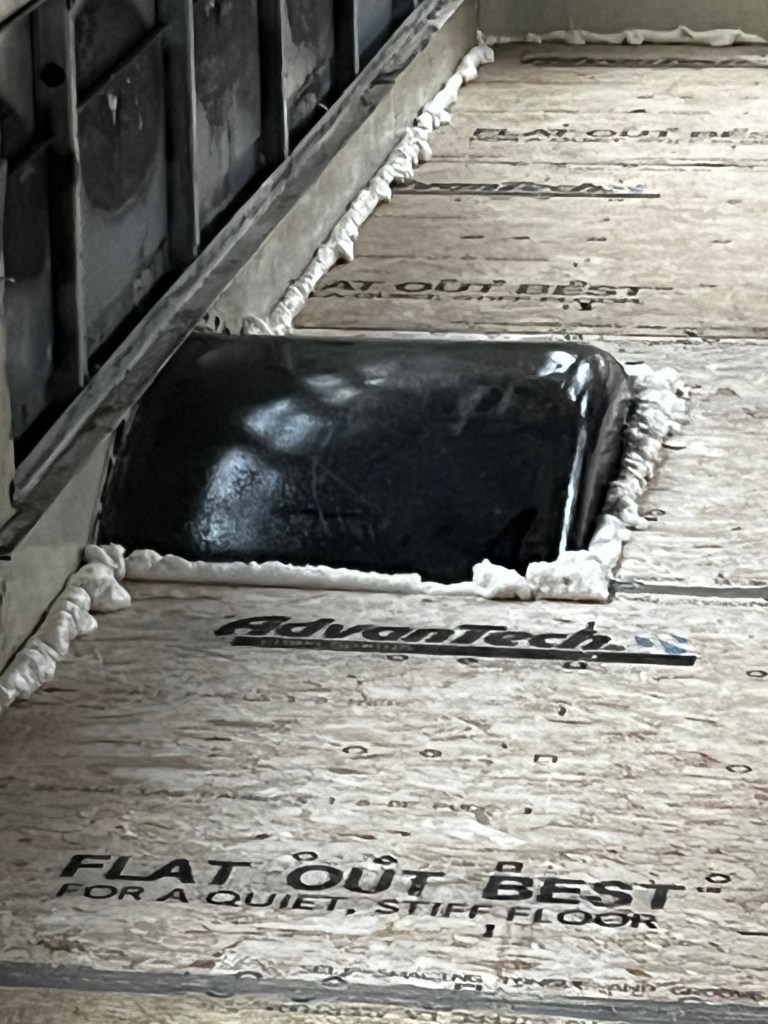
    I cut a hole through the exterior, through the insulation and walls into the area I am putting the electrical system in. This is a 50 Amp Shore power inlet, the inverter is also a 50 am device so I can use the 4 wires that 50 Amp provides to use the two inputs on the inverter. To simplify the difference between different Amp rated outlets I’ll start with your typical household outlet.

    Household outlets are typically 110(120) Volts, 15-20 Amps. You can run a fridge on one of these. Typical Household wire has three wires, a Positive, Negative, and Ground Wire…These are solid copper, which is not recommended for RVs because solid copper will break in a moving object over time…you can get the right sized braided copper for RV use, these are better because the wires are not solid and if one breaks there are 100 more still chugging along.

    30 -50 Amp outlets are what you see at campgrounds.

    A 30 Amp typically has similar wiring (3 wires) as household outlets with large wireamps to protect the 30 Amp current.

    A 50 Amp typically has 4 wires and they are large enough to handle the 50 amp Current. 50 Amp outlets are what actually provide 2 110(120) Volt sources which is perfect for the Victron Inverter I bought which is 50 Amp and has two inputs for AC loads.

    Heres the outlet and wire I used and the hole I cut to mount it.

    I had to remove some stickers to install this, so I ended up removing all the lettering that I could around the bus (for when I prime the exterior)

    Since I have to wait on hard to get components for the electrical, I cut up boards to make my bed frame. Ive been holding off until I was confident I didnt need to put anymore large sheets of plywood into the bus..I think im there.

  • More Floor Plans and Hinges on the couch

    I had an early lab session on Monday, so I was done working by 3:00. Perfect time slot to get a little bus work in! I went to the home store and bought a few hinges and cut the top of the couch to allow the top to open to access the storage area.

    I decided to move all my tools to the back so I could visualize the empty space I have left to consider floor plans. I ended up taping down some ideas.

  • Weekend 6 Summary

    It is Easter weekend, I was able to finished insulating the sides of the bus with rigid foam board and fiberglass insulation. I also wrapped up the strapping around all the windows and doors with the 3/4 inch plywood. Ive been using with the Maple finish. I need a ton of plywood to complete the walls, but first I need to get some wire and ensure all my outlets can reach the breaker box.

    I started to frame out the master bedrooms bed. It’s 30 inches off the ground, this will accommodate a nice sized fresh water tanks, water pump, and my solar/shore power solutions. Im starting to get into the expensive stuff.

    Now that the front and rear furnishings are framed, I can see the space I have left in the middle of the bus for the kitchen and bathroom. I also removed some outlets and will be placing them higher up for the bedroom and the kitchen areas since the counter tops and wall extend up to the middle of the windows, it should be easy to find the right space for these outlets.

    If I do get the opportunity to take this beast out for a maiden voyage, I will likely just utilize a pressure cooker, airfryer, and microwave while I save up for real appliances. I may invest in an electric Cooler as well as a temporary solution. But that is a long ways off right now, a lot of paperwork and hurdles to jump through first

  • Finished framing the windows and doors

    Today I went and got a sheet of Maple Plywood to rip a few boards I needed to finished framing the windows and doors.

    It was 81 today and my insulation is definitely working. I decided it was a good idea to remove the little pesky window stoppers that make it so the windows only go down a crack.

    I stocked up on lumber to frame out the master bedrooms bed, and also had enough maple plywood left over to cut the top piece for one of the couches. I ran wiring throughout the bus and definitely will need to invest in more wire to ensure that all outlets can reach the 1000 Amp Service box I will be utilizing. Plan is for that and a lot of other components to be in the back of the bus underneath the bed area.

    I am thinking about mounting the grey water tank underneath the bus and the fresh water tank underneath the bed. My electrical system including solar inverters and charging components will be installed under the bed as well.

  • Insulation completed

    I finished the insulation of the sides of the bus. I used fiberglass for the places that the rigid foam board would not go, The foam board cuts so easy and I was able to get those cuts mounted pretty quickly.

    My Son Aaron and I ripped a bunch of boards for use framing in all the windows and potentially the ceiling material. We shall see.

  • Floor plans and outlets

    I did a little tinkering today with outlet placement and floor planning. Truth be told I did it in the wrong order, just don’t tell anyone ok?

    I decided where the two couches are going in the front section of the bus. These are going to be simple pieces of furniture. Im thinking of using 2×2 to frame the shape, and hardwood finished plywood as the outer shell. Both couches will also be chests for storage.

    I also installed outlets (twice) in both couch areas, I had to move them so they weren’t behind the couches backrest.

    I had some extra Rigid Foam board insulation and I decided to test it out as the insulator on the walls, starting with the front couches was a good place to test it because there will be no plumbing or wires behind the couches.

  • Weekend #5 Summary

    This was a productive one. I got my table saw setup and cut 2 4×8 plywood into 2 inch boards 3/4 inch thick.

    Once I had the boards cut, I had to insulate the spaces in the floor that the flooring didnt cover, after that cured, i shaved it down with my oscillating tool, and began the strapping process (Framing in a bus is called strapping.)

    The base strapping was done by screwing small blocks into the bus frame using Wood to Steel self tapping screws, they pulled the wood in tight and worked really well. After the blocks were secured I ran boards down the sides and secured with wood screws into the blocks. This gives me 1 1/2 inches of framing which gets the boards beyond the bottom chair rail so I can put up wall boards when I am ready for that step.

    After getting the strapping completed, I went and get some Flex Tape rubber adhesive to seal those pesky emergency hatches…not a permanent solution, just mitigating leaks so I can check the windows for leaks without the hatches throwing me on a wild goose chase. No pictures because I didnt bring my phone up on the roof and my hands were sticky from the tape.

    I had a little help from my son Aaron finishing up the strapping, look at the wire harness in the window, that was another project I started messing with. I removed a lot of unneeded wires that controlled the flashing lights and stop signs etc…things that I have to remove for New York State to give me a title change from a Commercial vehicle to an RV.

    Once I got the wire out, I rewrapped the remaining wires that control the brake lights, Reverse lights etc..and mounted them above the top strapping of the bus. It really cleans up the look of the bus,

    I also ran some LED lights on the opposite side of the bus just for kicks and a little light.

    One cool thing I found in my electrical adventure was a bus pass from 2017. It was in the electrical panel area.

    Overall it as a pretty productive weekend, my back can confirm! I had a few folks stop by to check out the bus, my dear friends Chuck and Layla were in town but I was at the casino, so we will have to catch them next time! My neighbor stopped by and even brought me some goodies!